

TRD
Performance Air Intake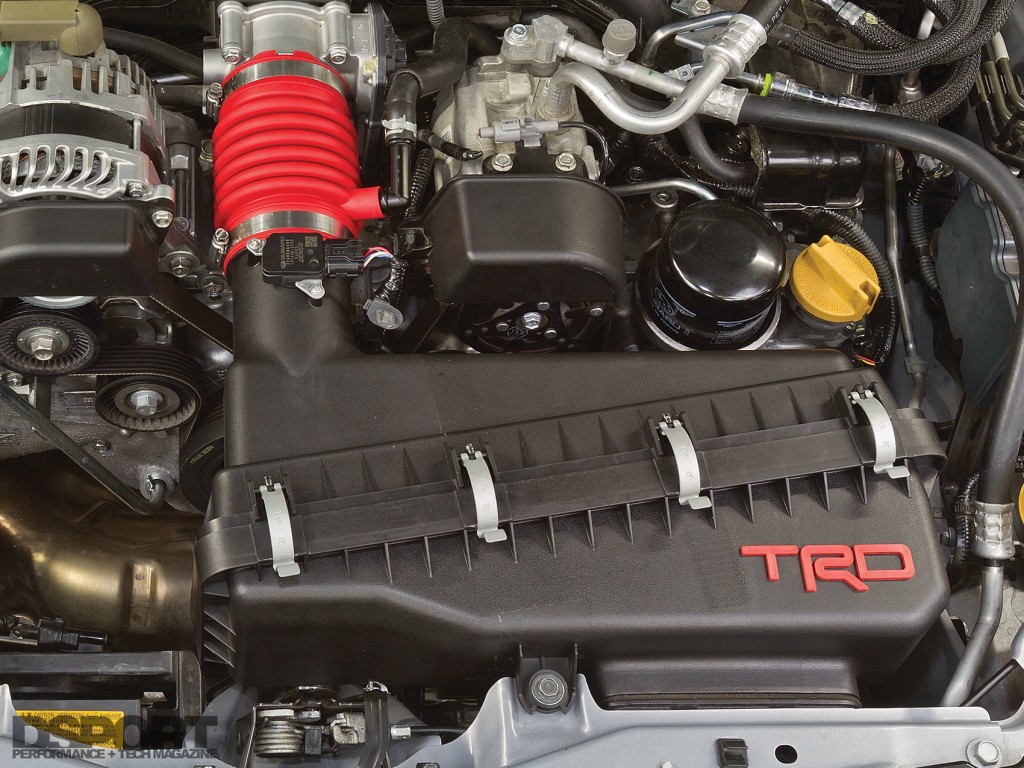
QUICK FACTS
Positive
+ Best performer at 3700, 4400 and 4600 RPM
+ Best Average Power in 3500-44000 RPM Range
+ Second Best Average Power in 4000-4500 RPM Range
Negatives
– ECU reflash is a must to get peak performance from the intake system.
[pullquote]
181.74 WHP w/ EcuTek
174.01 WHP w/ Stock ECU
170.89 WHP Baseline
[/pullquote]
Overview: The TRD intake appears to be another design that focuses on airflow over signal tweaking. When the EcuTek is added to the mix, the performance increase available from the intake start to shine. Improved horsepower and torque production were both easily realized with some minor tuning changes. However, EcuTek tuning is a must to realize peak power with this intake system.
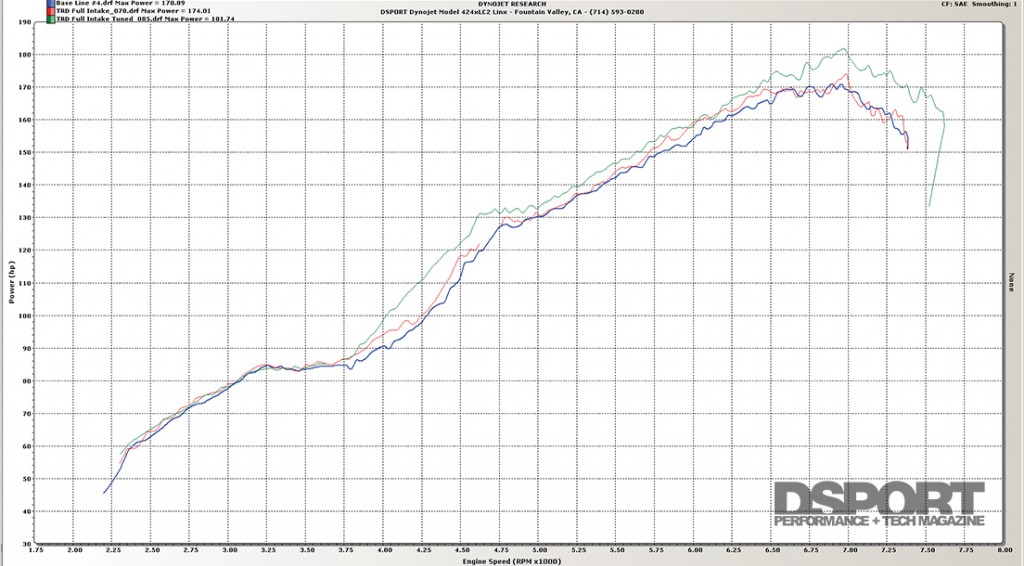
Peak Results- HP: +7.73 @6950RPM TQ: +6.53 @4650RPM
Max Gains- HP: +11.44 @4300RPM TQ: +13.97 @4300RPM
Tech Notes: TRD’s performance intake had limited improvements before a reflash with the EcuTek came to the rescue. The EcuTek unlocked the full performance potential of the intake, producing sizable gains from 3,700 RPM to 7,200 RPM. The EcuTek tune is a must for this intake.
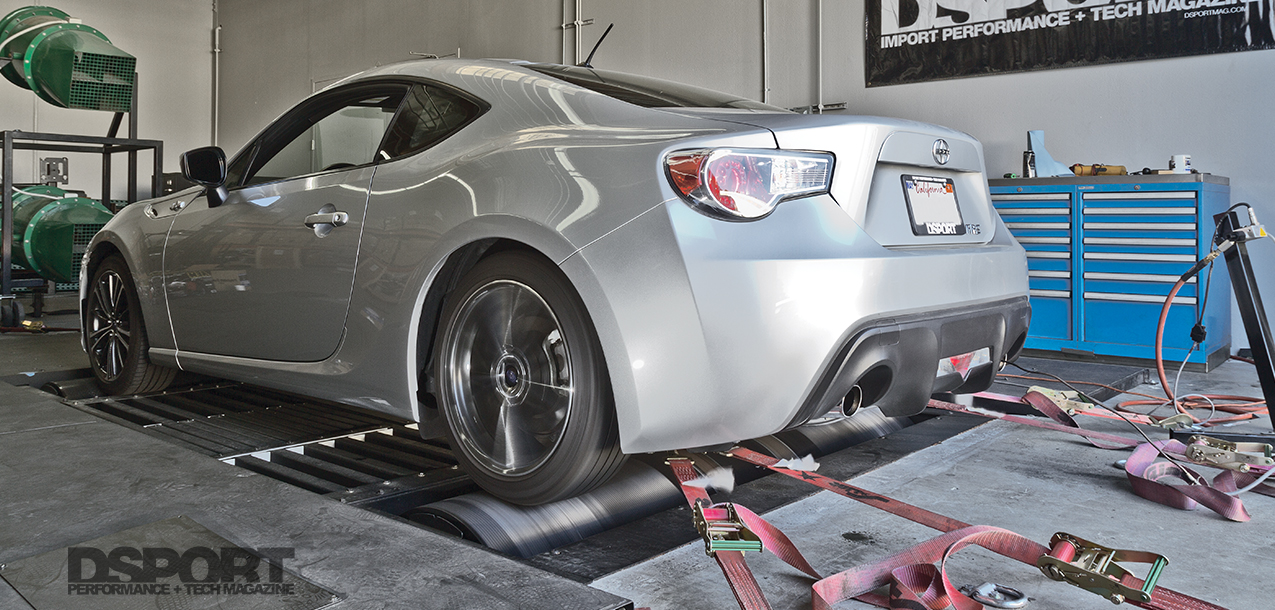
Scion FR-S/BRZ Intake Test: Pt 1 (Stock ECU)
• Intake Showcase (Part One)
AEM ETI INTAKE SYSTEM, BLITZ ADVANCED POWER AIR, HKS PREMIUM SUCTION, INJEN SP SERIES, K&N 69-SERIES TYPHOON, TAKEDA MOMENTUM, TRD PERFORMANCE AIR INTAKE, WEAPON-R SECRET WEAPON, APEXI POWER INTAKE FILTER, AVO TURBO WORLD SILICONE INLET COMBO PIPE, BLITZ SUS POWER FILTER LM, K&N REPLACEMENT AIR FILTER
Ecutek FR-S | Reprogramming the Power-Limiting Factory ECU
Scion FR-S/BRZ Intake Test: Pt 2 (EcuTek ECU)
• Intake Showcase (Part Two)
AEM ETI INTAKE SYSTEM, BLITZ ADVANCED POWER AIR, HKS PREMIUM SUCTION, INJEN SP SERIES, K&N 69-SERIES TYPHOON, TAKEDA MOMENTUM, TRD PERFORMANCE AIR INTAKE, WEAPON-R SECRET WEAPON