
WHETHER OR NOT YOU WANT TO ASSOCIATE BLUE AND purple headlights with the tuning market, the truth remains that many enthusiasts resort to plug-and-play high-intensity discharge (HID) light kits to increase headlight output. While some enthusiasts have begun to realize the shortcomings of dropping in these cheaply made HID kits, others simply don’t know where else to turn for proper, effective lighting solutions. OEM manufacturers spend hundreds of thousands of dollars researching, developing and testing new ways to improve headlight output without blinding traffic. While most of us may not be able to afford a brand-new luxury vehicle equipped with factory HID headlights, there now exists an option to properly retrofit HID projectors into almost any vehicle, new or old.
Text and Photos by Jun Chen
DSPORT Issue #145


From Halogen to Xenon
In the late 1990s, automakers began to offer HID lights as standard equipment on high-end luxury cars. By utilizing a transformer known as a ballast, an igniter and xenon gas-filled bulbs, manufacturers could now offer headlights with double the light output of halogen units. Seeing the demand for these headlights, the aftermarket quickly caught onto the lighting trend and began offering plug-and-play kits for just about every halogen bulb socket.
The primary problem with the plug-and-play HID kits lies in the inability for the high-output HID light to be dispersed properly. What these kits effectively do is place a cheaply made HID bulb into a reflector housing designed for halogen bulbs. If you’ve ever wondered why some cars have bright cool white or blue lights that seem to blind you from behind, it’s likely because they’re using an HID kit in a halogen housing. Placing a HID bulb inside a halogen reflector bowl causes immense amounts of light scatter, throwing light everywhere (including directly into your rear view mirror).
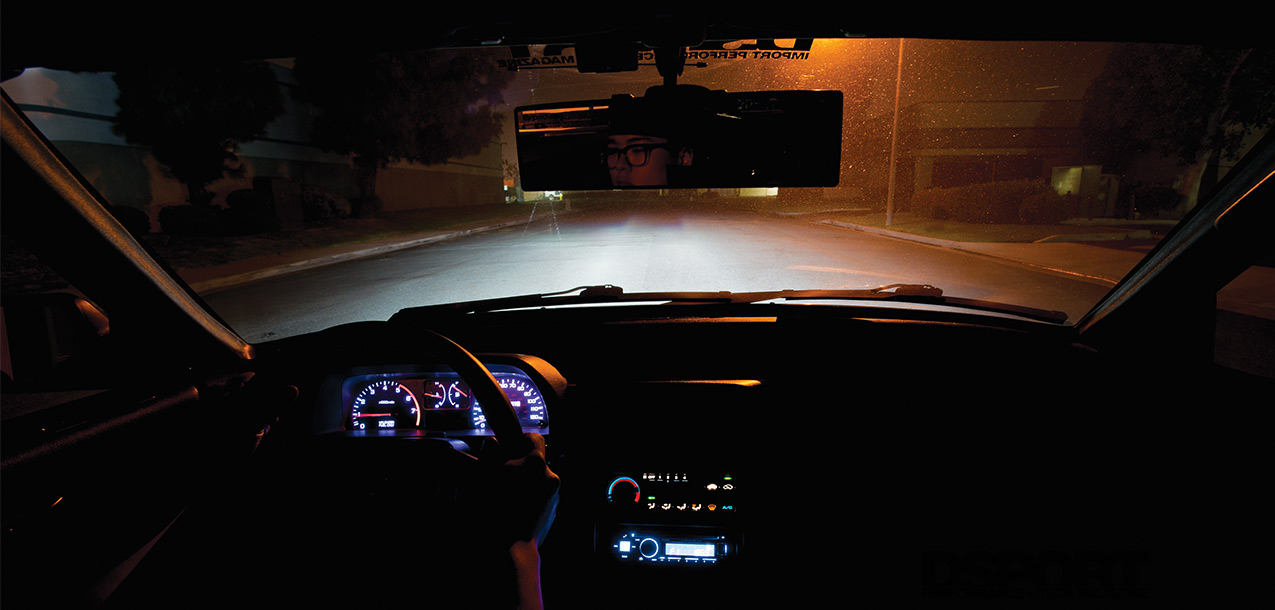
To eliminate the light scatter caused by a reflector bowl, OEM manufacturers use glass projectors to focus the light in a controlled pattern. Since these projectors are able to concentrate and direct the high-output light of HIDs, they lend to a much wider, more intense and more uniformly distributed beam pattern on the road. In addition, properly-designed projectors produce a beam cutoff to limit light above a certain height, thereby significantly reducing the glare to oncoming traffic.
The Morimoto Mini D2S square projectors offer OEM-like light cutoff and output.
Reflect or Project
Recognizing that HIDs without projectors lack performance and pose a threat to the safety of other drivers on the road, a few light-crazy enthusiasts began to scavenge junkyards for luxury-car headlight projectors to retrofit into halogen headlight housings. These early retrofitters had to hack apart the halogen housings, affix the projectors and then put together custom wiring harnesses to make things work. There were no guarantees on the internal or working condition of these parts, and they were expensive too. For this very reason, The Retrofit Source (TRS) was born in June of 2005.
Originally specializing in collecting and supplying the hard-to-find HID headlight retrofit components, TRS started out as a company that purchased and recycled damaged headlight assemblies From salvage yards. Despite offering some of the best used OEM retrofit parts, TRS soon realized that the majority of enthusiasts were still uncomfortable with hacking apart their headlights and doing a lot of custom, one-off headlight work.
Bolt-on Solution
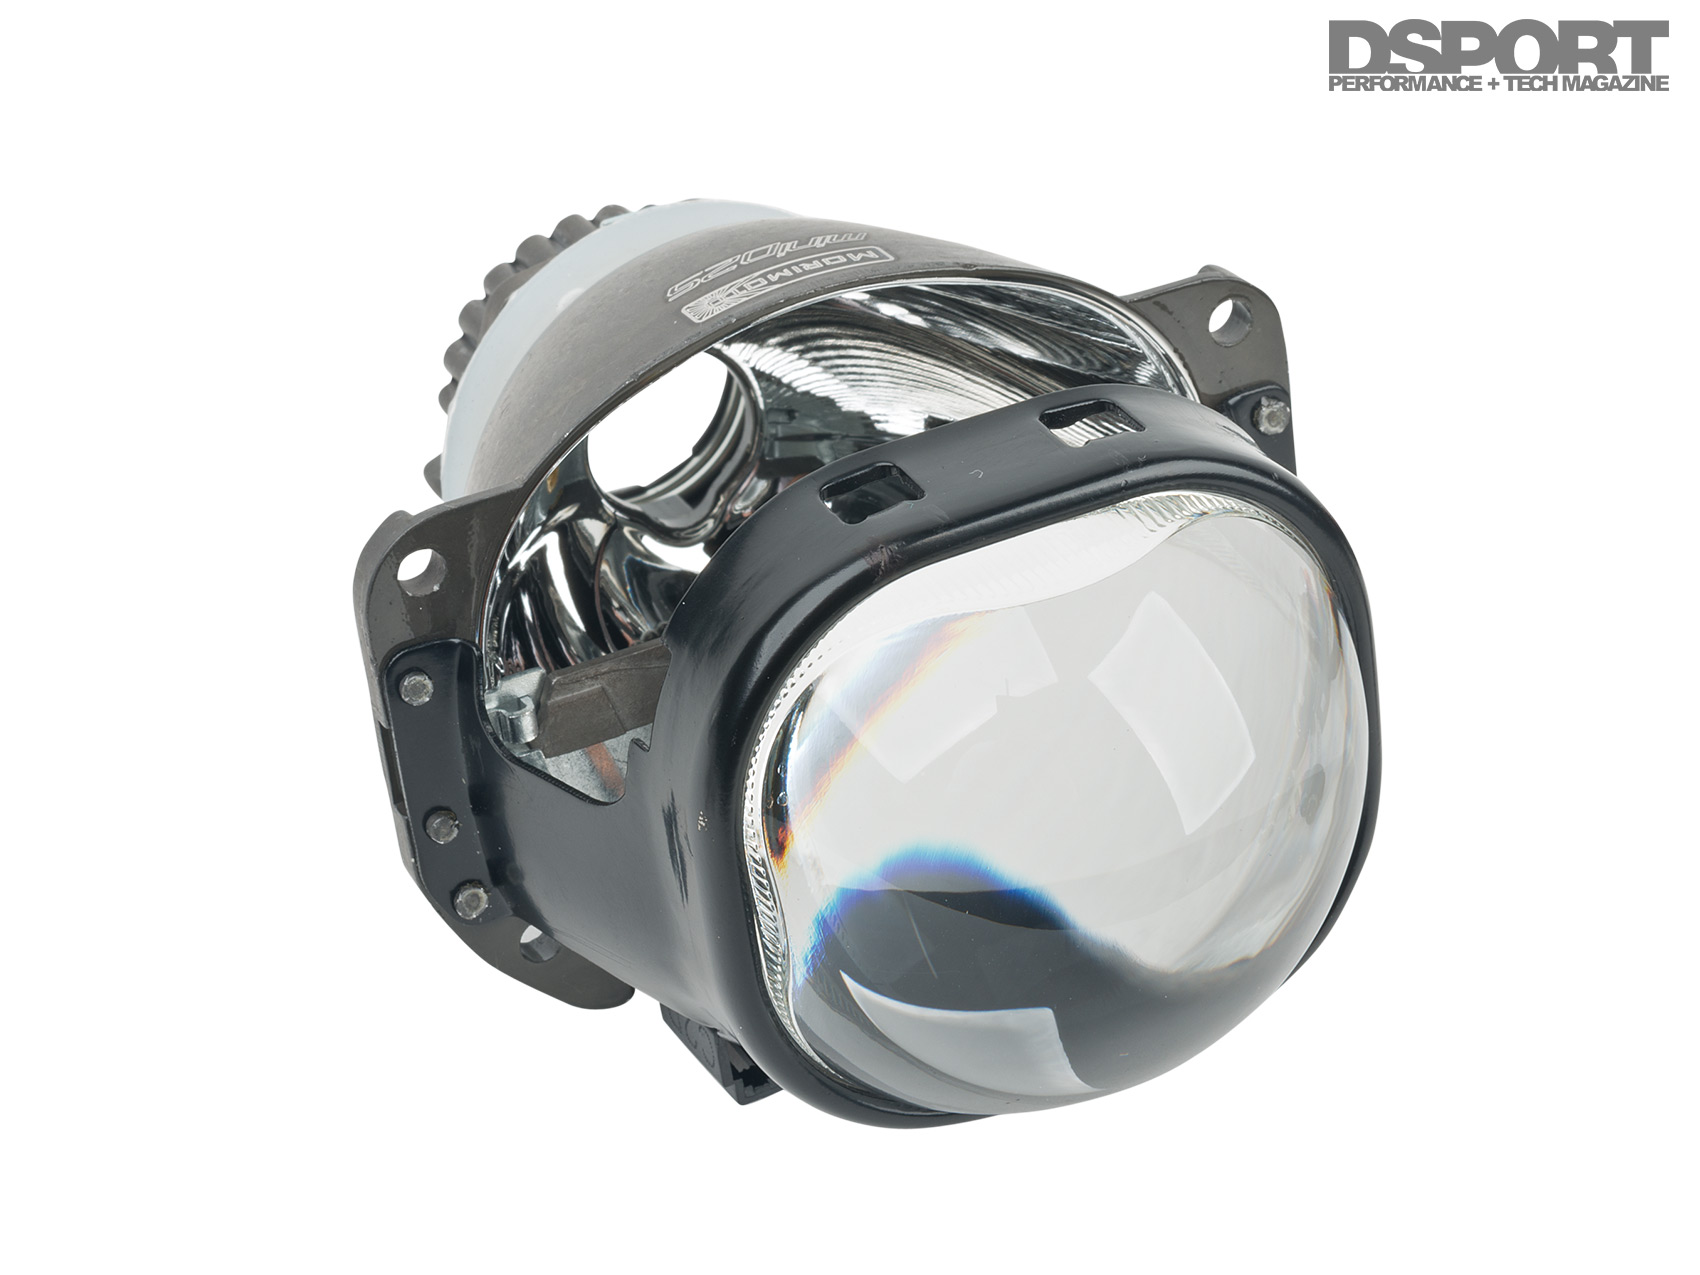
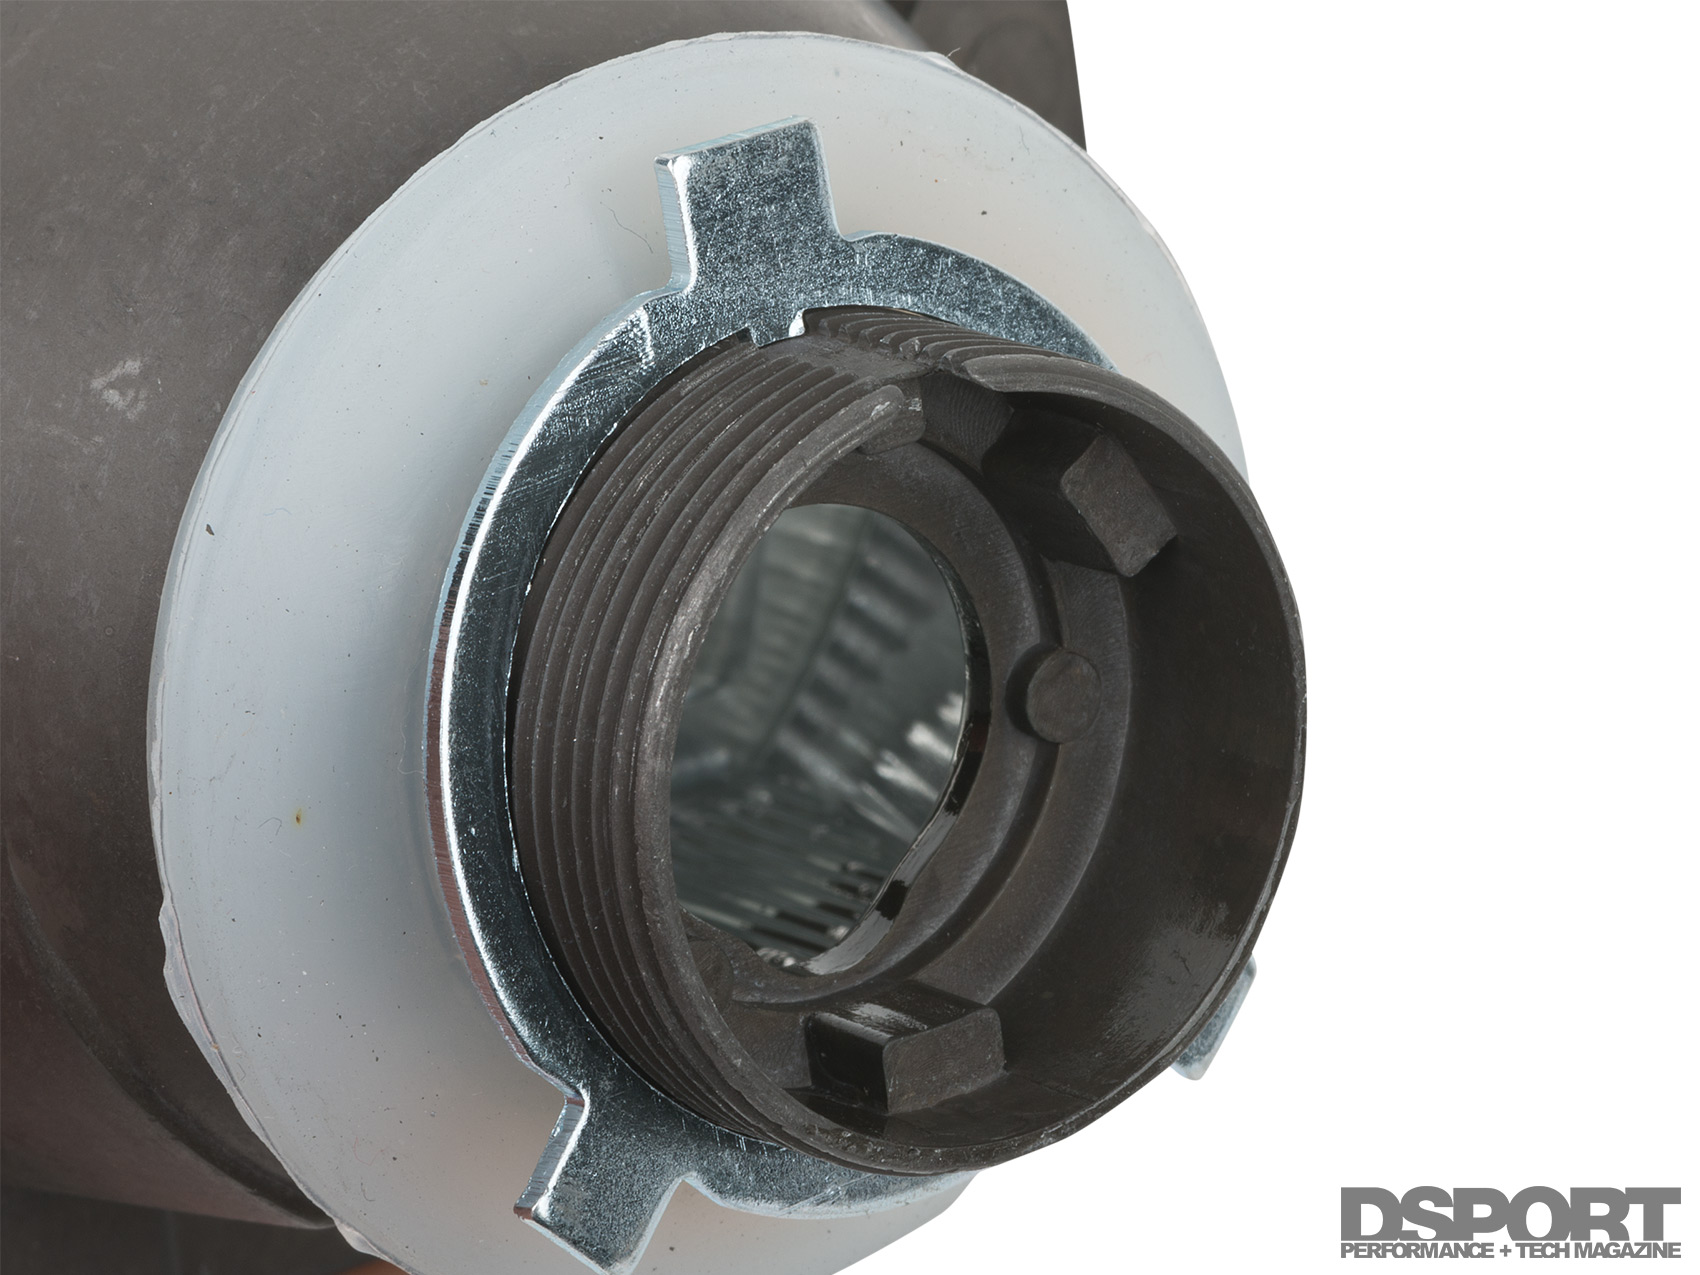
While a halogen reflector bowl does not offer the proper design to project HID light, the extruded bowl shape allows for sufficient space to mount a projector. On most headlights, removing the reflector hardware and leaving an empty bowl creates enough depth to mount an HID projector. In order to simplify the installation process and minimize cutting, TRS developed a proprietary projector designed for halogen housings.
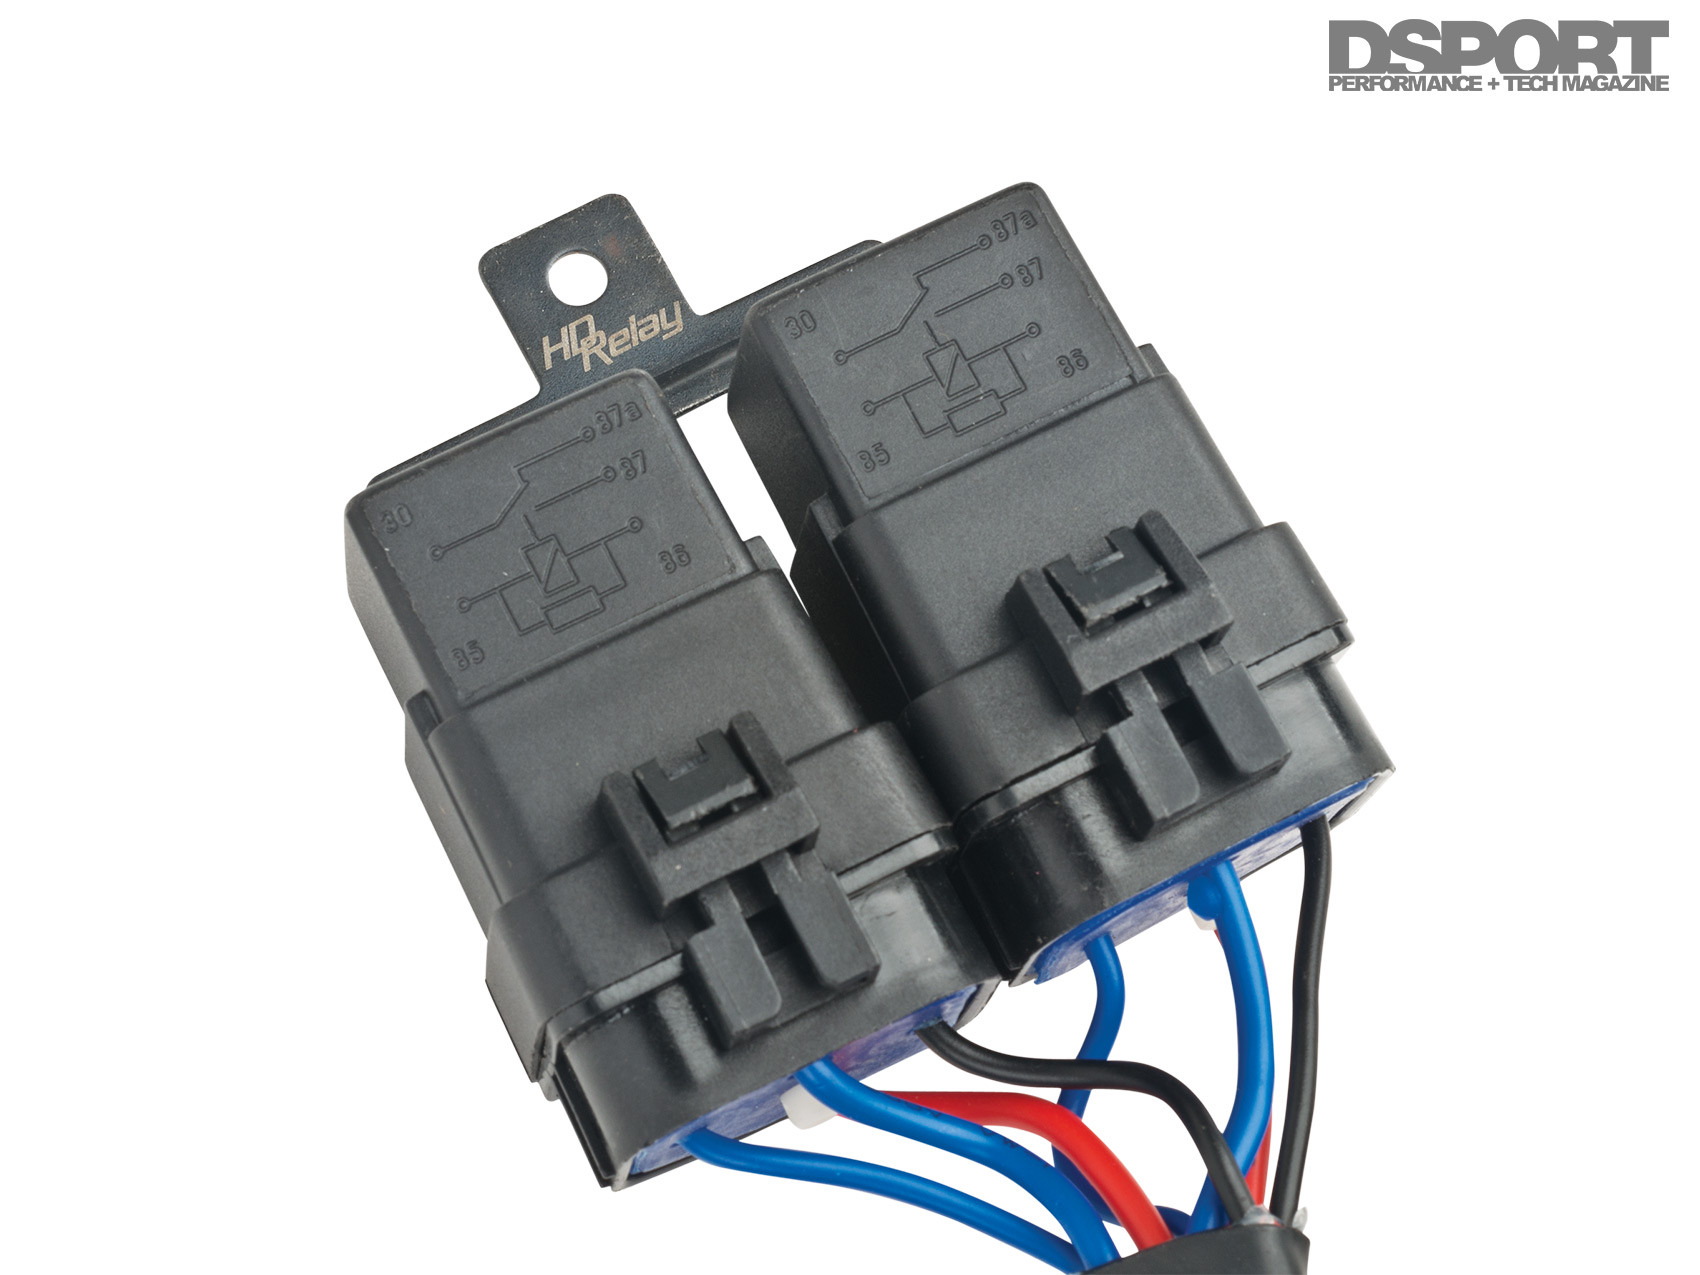
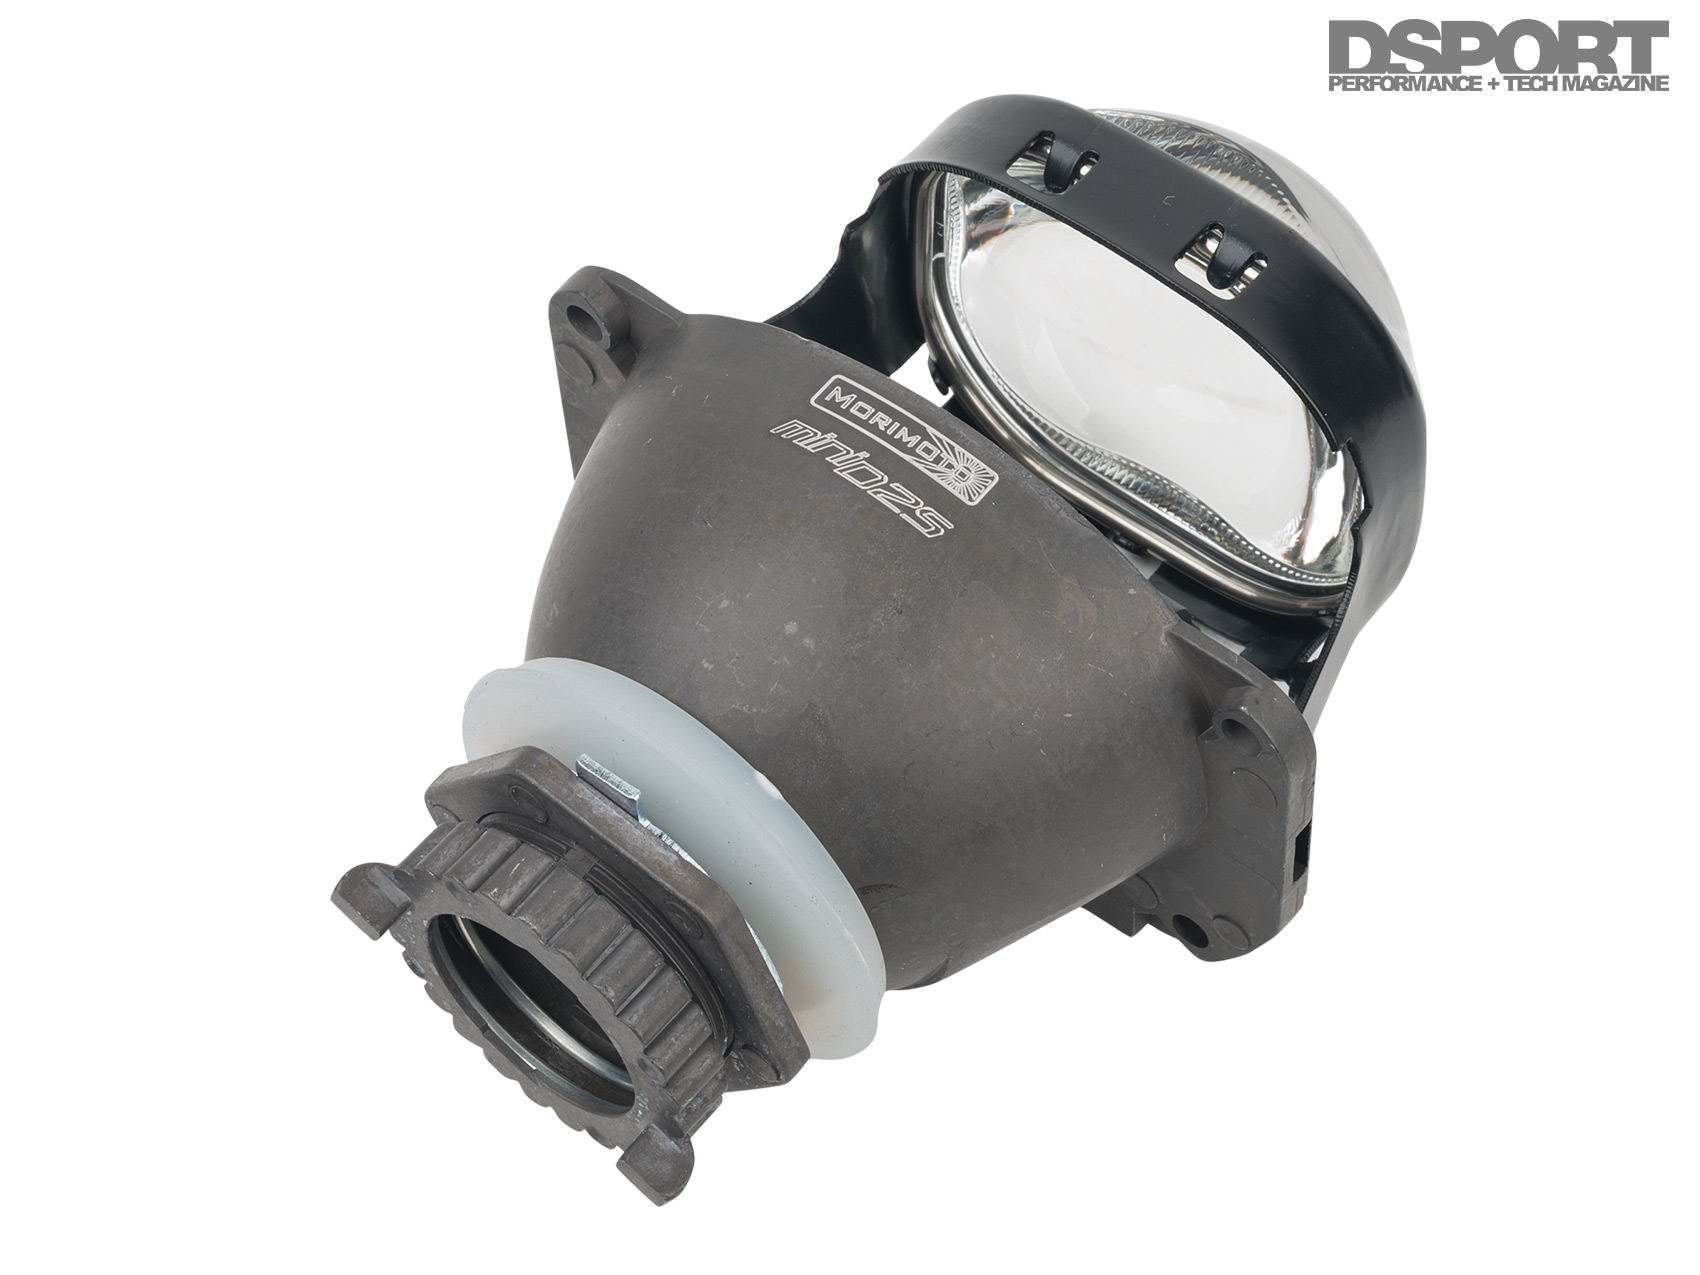
(L) The Mini D2S projectors use an H4 centering ring for easy projetor alignment. (R) The included harness utilizes a set of relays to control the high/low bi-xenon function.
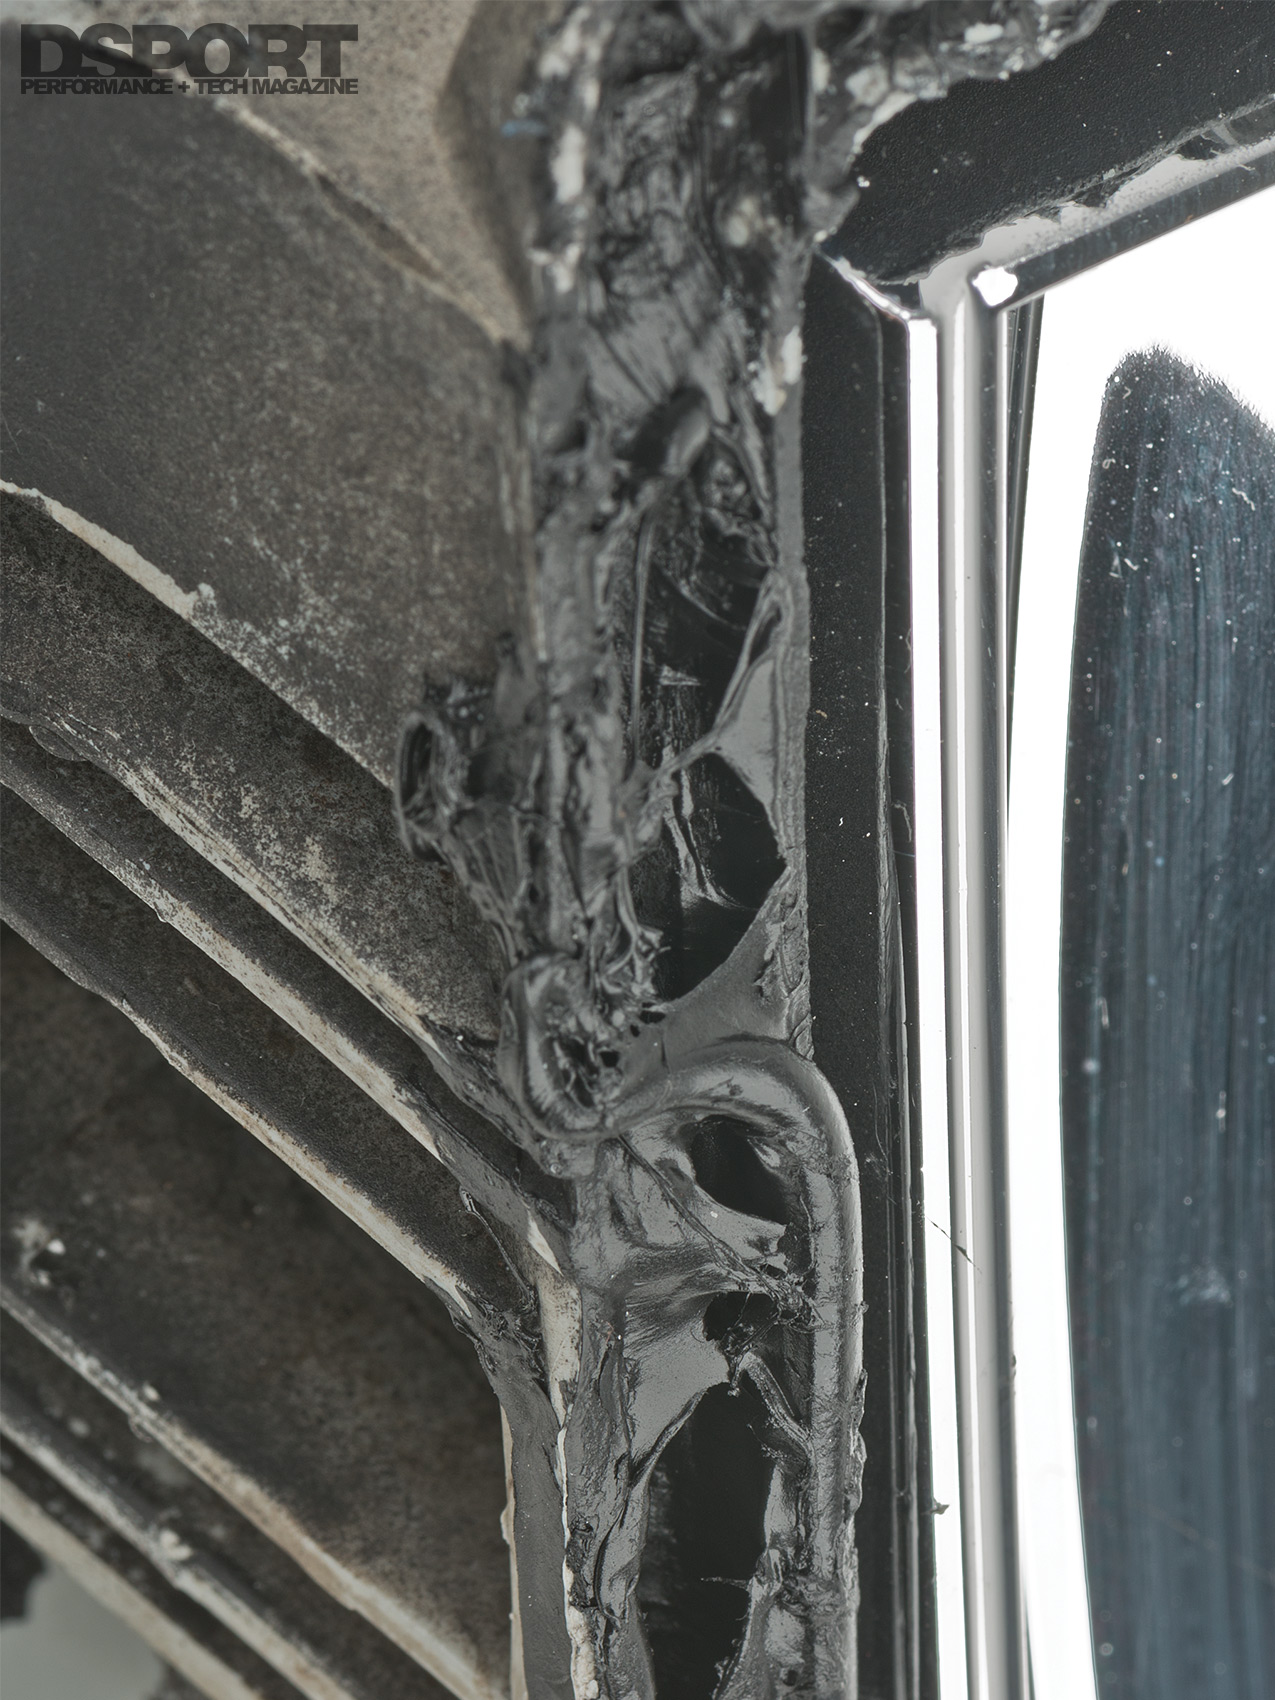 After removing the clips and heating the butyl sealant to separate the lens from the housing, the projector can be fitted. By exploiting the socket provisions of the widely used H4/9003 halogen bulb housing, TRS designed a projector that literally “screwed” into the socket with little-to-no cutting required. Other sockets, such as 9005/9006, require opening the bulb hole for the projector’s threads to slide through. However, the installation process is very similar. After fitting the projector and sliding the bixenon solenoid wires out the back of the housing, a projector shroud can be fitted around the projector lens to give it a finished, OEM look. To affix the lens back to the housing, simply heat up the butyl sealant again and firmly push the two sides back together. Use the OEM metal clips to keep the two parts from separating. We also recommend using multiple c-clamps to keep the two parts together to ensure a moisture-tight seal after the butyl cools down. If the housings are old and the butyl looks and feels brittle, you may need to add additional butyl sealant to keep moisture out of the headlights. Be sure to wear gloves and be prepared to get messy with the butyl. Rubbing alcohol and a microfiber towel can help clean up any excess sealant that lands in the wrong place.
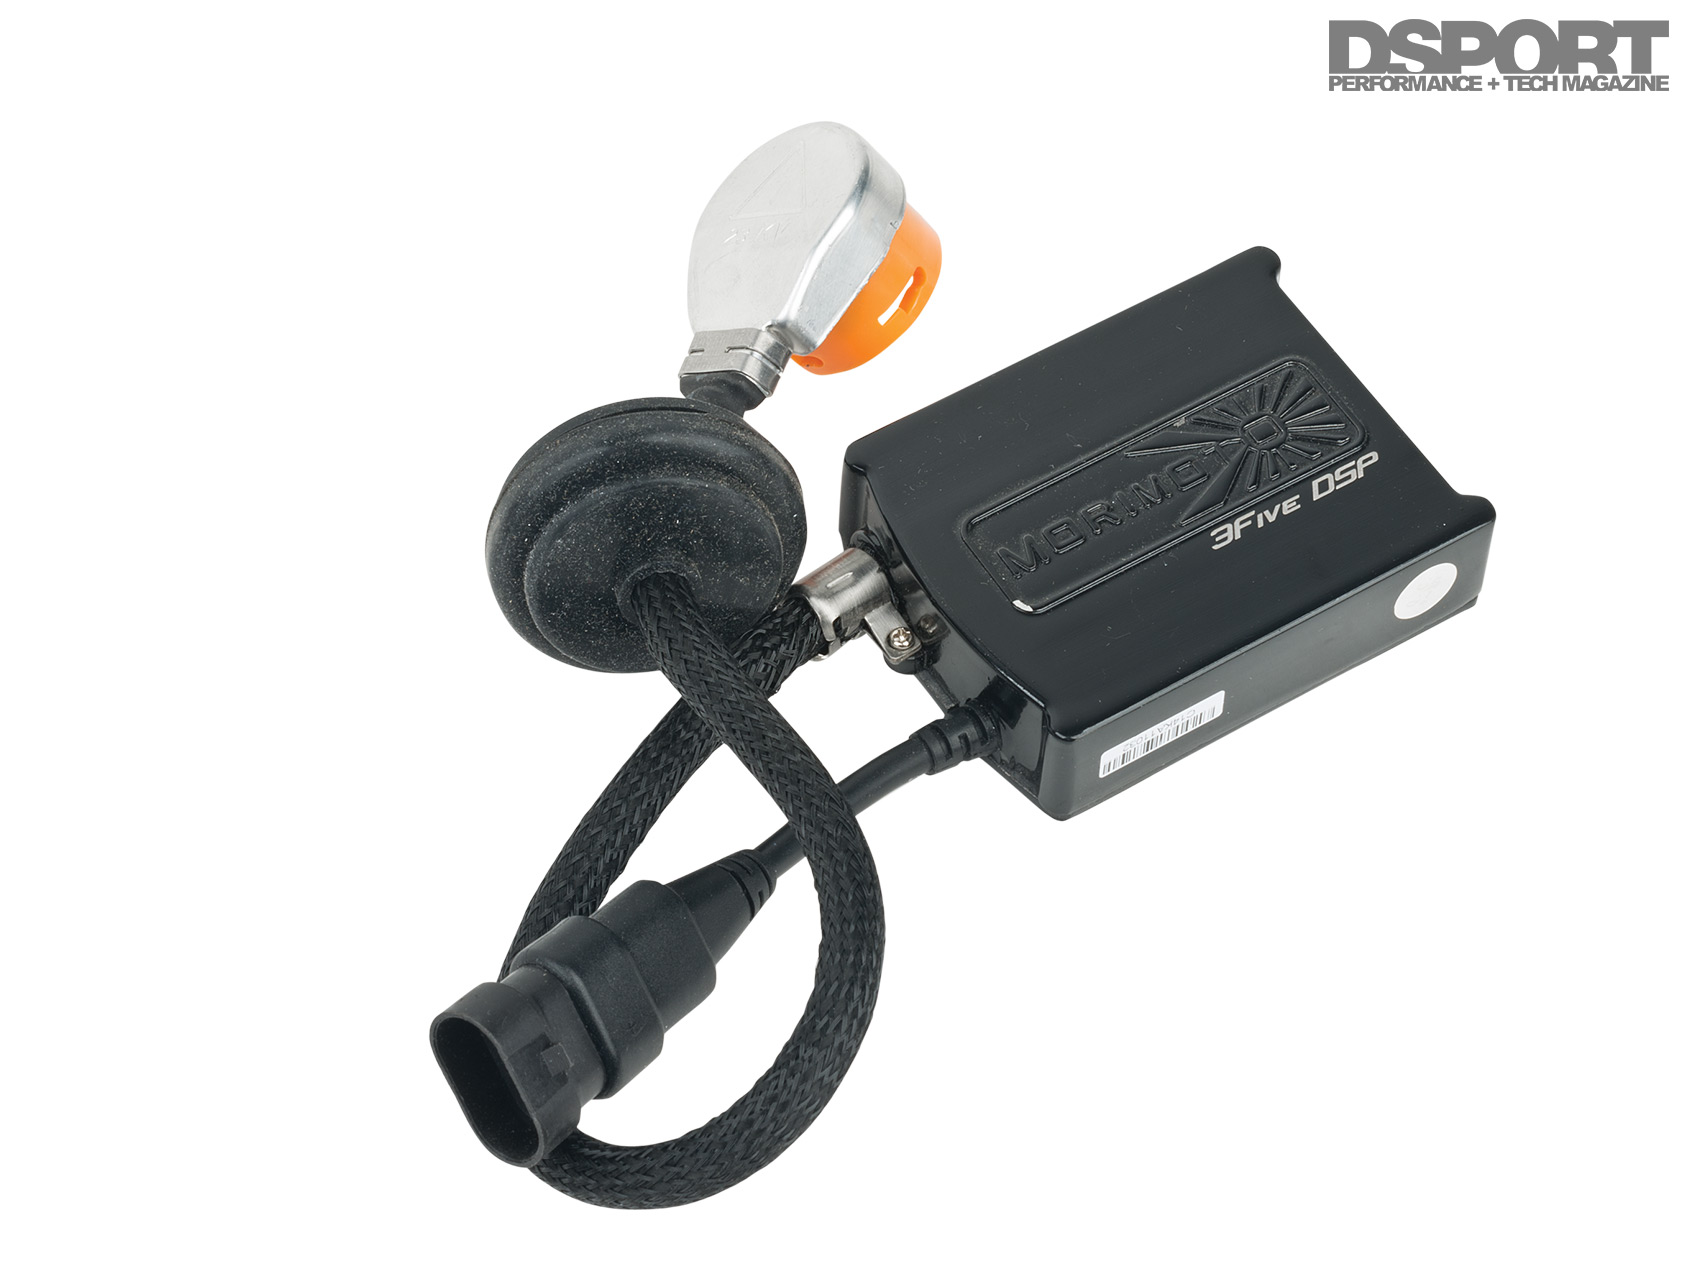
Once the projectors are installed, the rest of the process is really a plug-and-play affair. TRS offers a plethora of harnesses for nearly every production vehicle. Included in the complete retrofit kit are a relay harness (for bi-xenon functionality) and your choice of ballasts and bulbs. We opted for the Morimoto 35w 3Five ballasts and 5000K bulbs for a pure white light. Unlike most OEM ballasts that are designed to be inside of the headlight housing, the Morimoto units are weather sealed and can be placed in any convenient area near the headlight. We placed them under the headlights using the included mounting hardware and a few cable ties for extra security. Hooking up the rest of the harness only required us to connect a positive wire to the battery, ground the two ballasts and fire up our new HID projector lights.
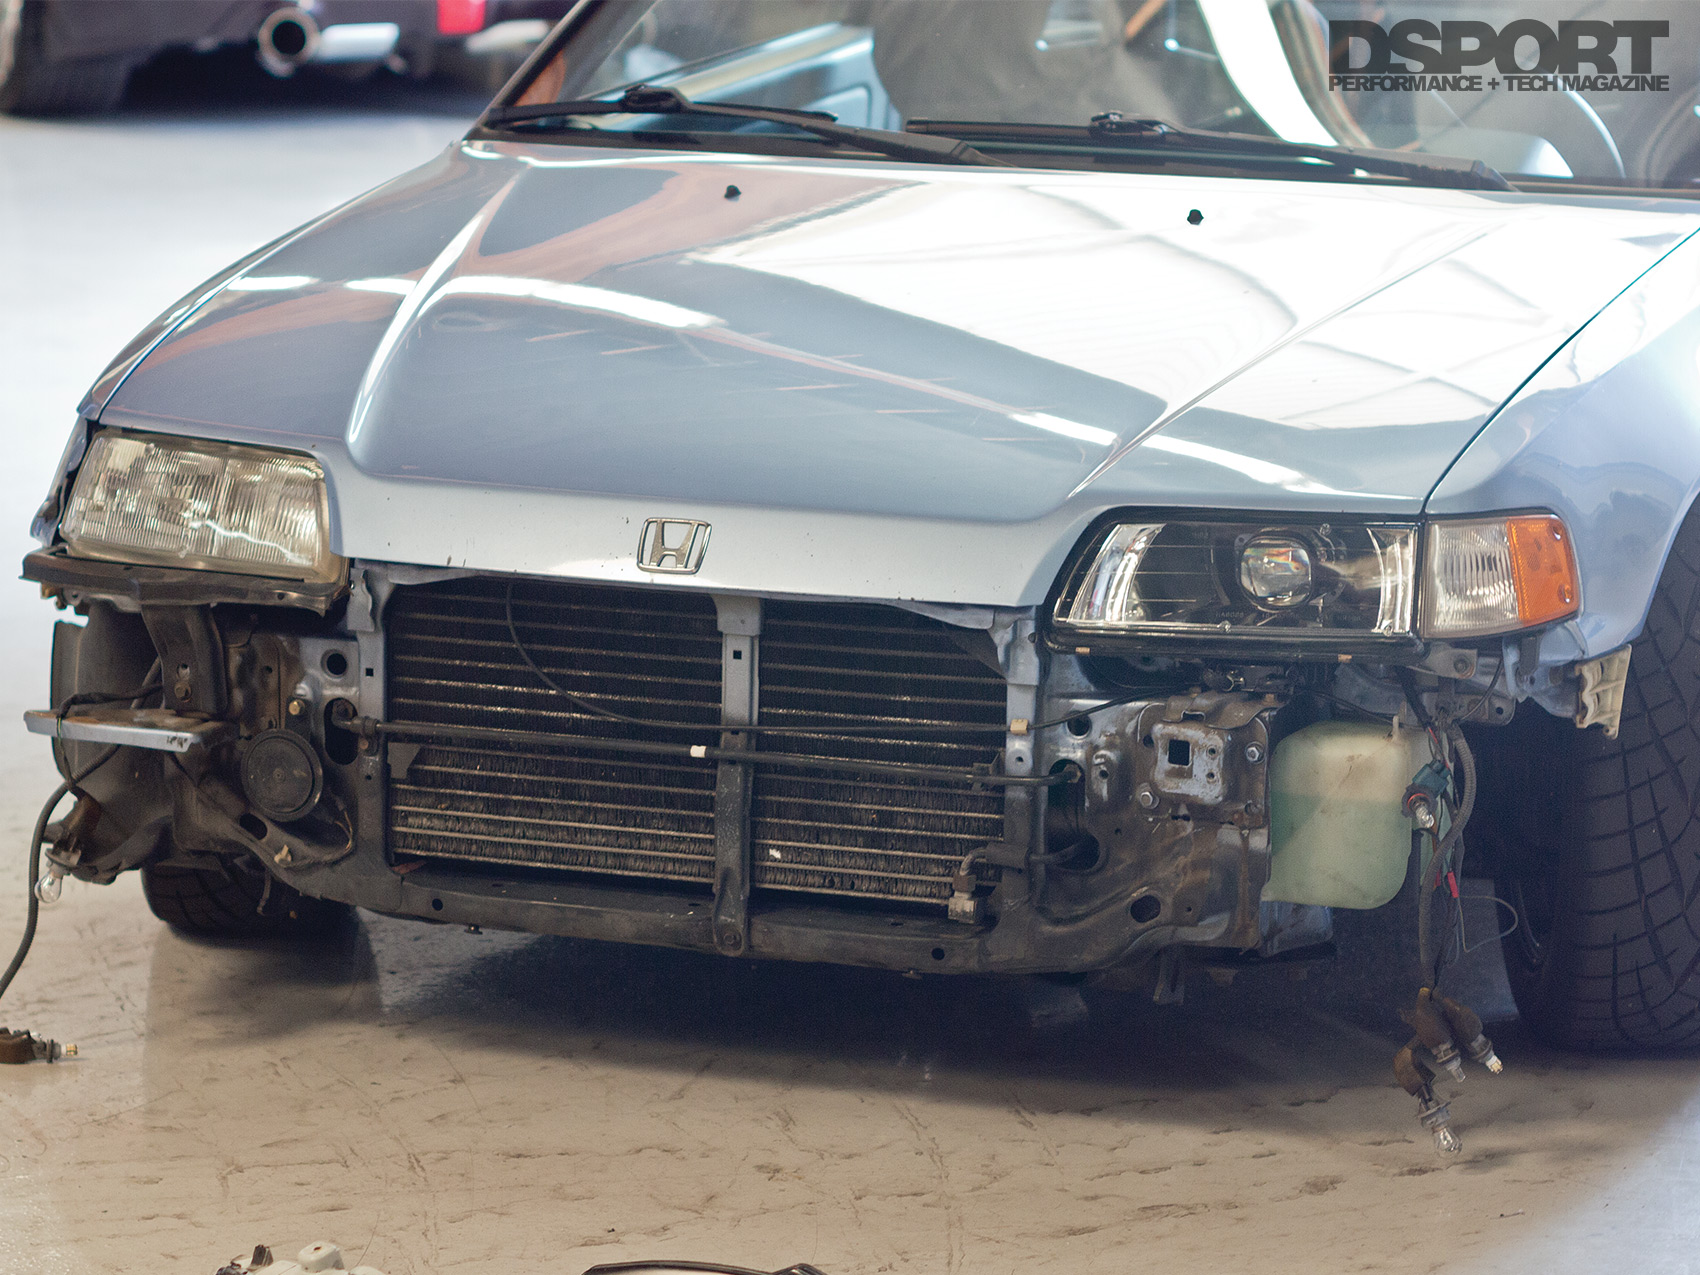
Headlight removal and installation required removal of the bumper. The modern projectors really update the CRX’s overall aesthetic.
Do It Right
After installing the lights, we shifted out focus to adjusting and aiming them properly. TRS recommends parking the vehicle 25 feet away from a wall for vertical and horizontal adjustment of the headlights. At 25 feet away, the light cutoff should be aimed right below the side mirrors of a typical (non-lowered) passenger vehicle. This vertical adjustment will keep the light from shining directly into side and rear-view mirrors. The horizontal adjustment will ensure that the lights effectively illuminate the road without any hot spots or unnecessary overlap.
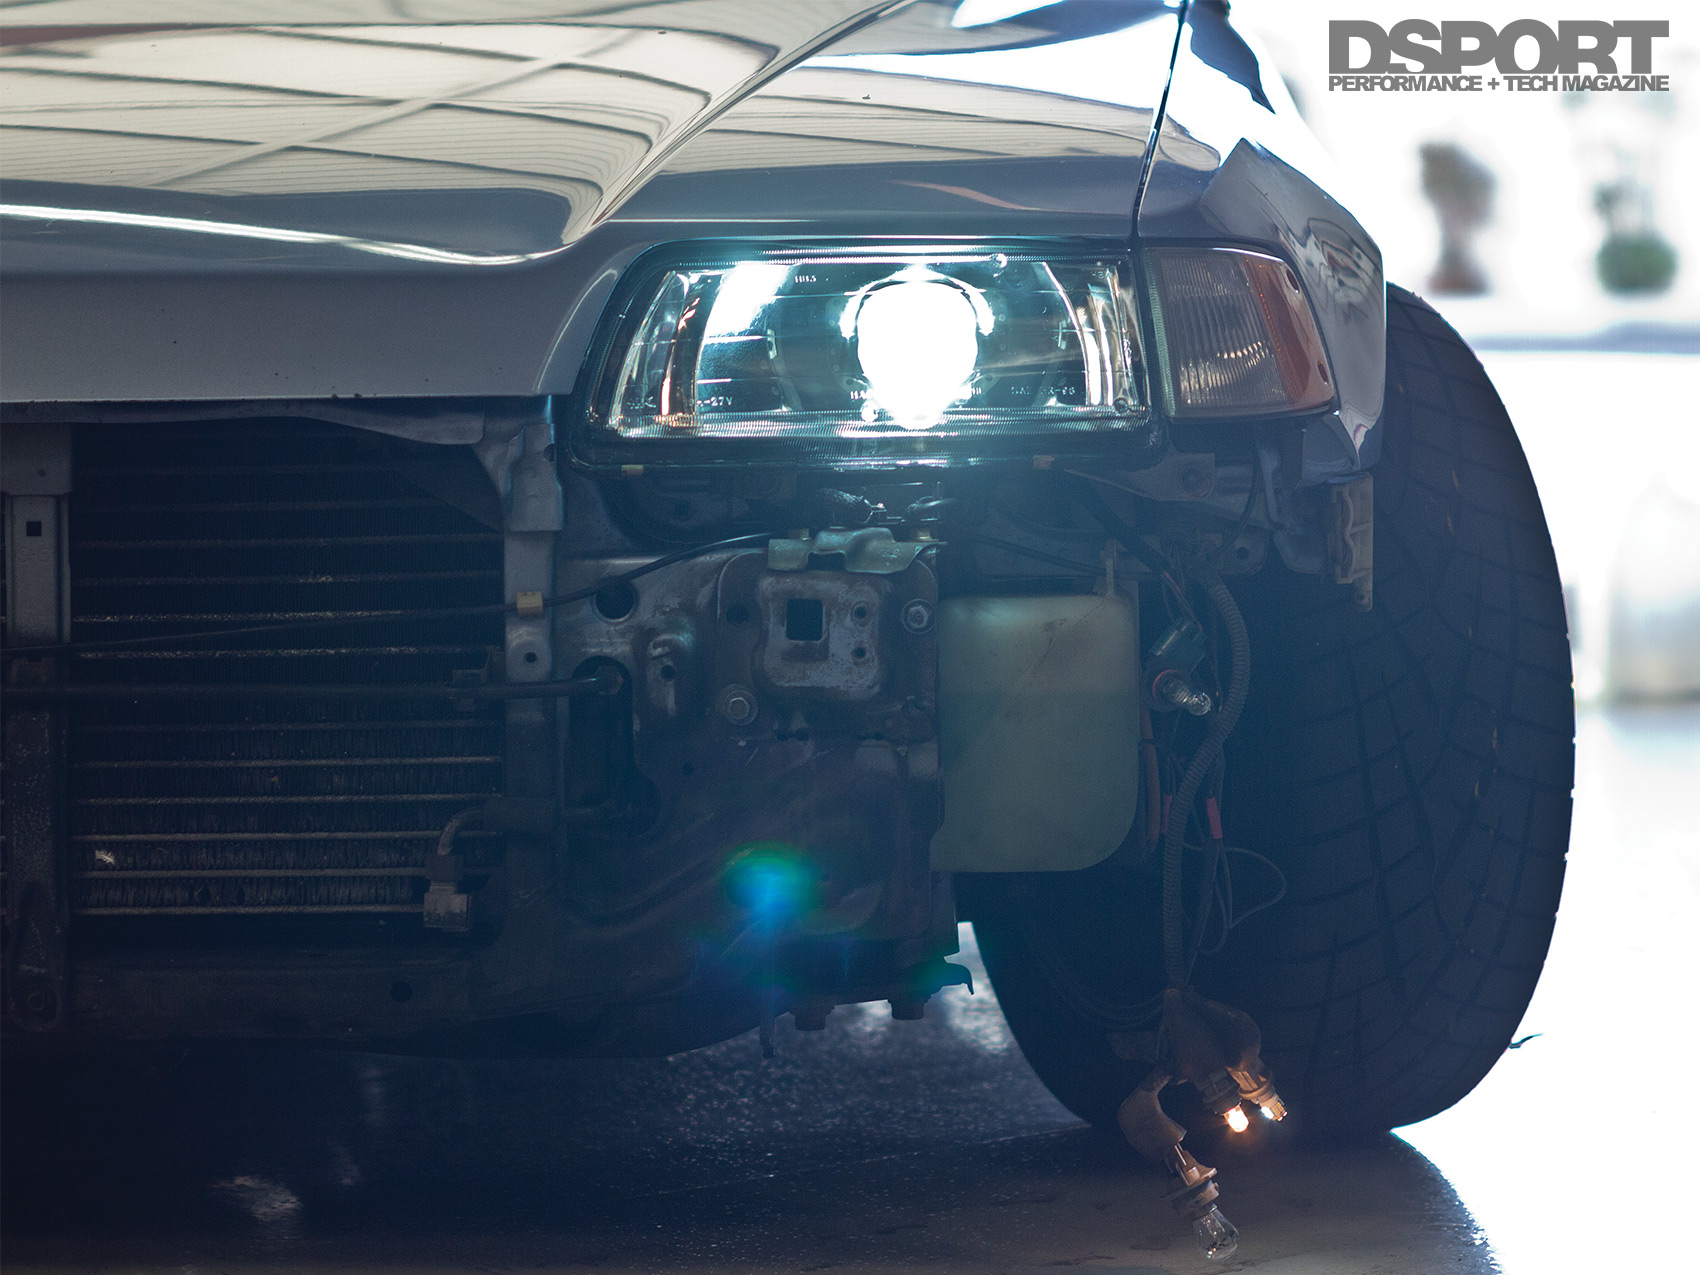
By harnessing the increased light output of an HID system with a set of projectors, we’ve given Project CRX enough light to head up mountain roads and maneuver around potholes at night with ease. In addition to the much-improved light output, the projectors also help update the front look of the CRX. Although we chose to install the kit on an older vehicle, rest assured that any vehicle with halogen headlights can benefit from a proper HID retrofit kit. With improved visibility at night, little to no cutting and a relatively plug-and-play install, there’s really no excuse to keep those halogen lights around anymore.
Full HID Photo Gallery on Page 2 >>
